Waitlist & Reservation
How to Enable Waitlist in Back of House:
Log in to your back of house (My Store) and go to “Settings”:
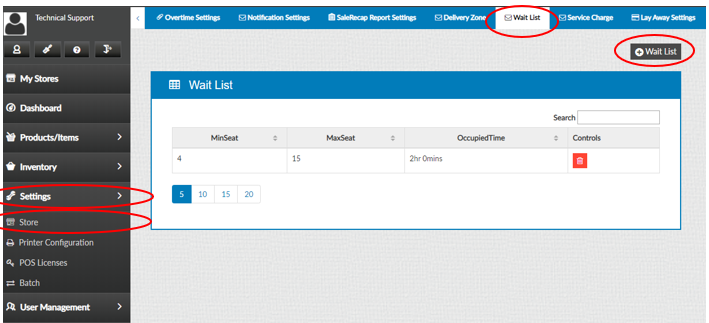
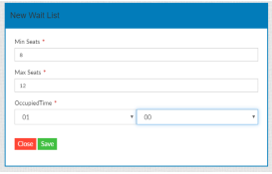
Define the waitlist by the range of seats and the expected amount of time they will occupy a table, and save:
Next, give a reason for the waitlist by clicking “+Wait List Reason”:
Enter Waitlist Reason and Save:

How to use Waitlist in Front of House
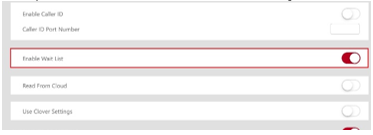
First, make sure Waitlist is enabled in your POS Operations page:
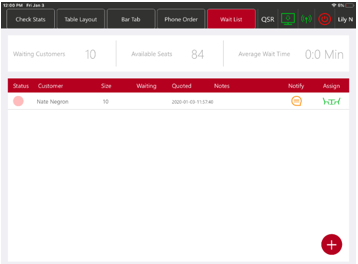
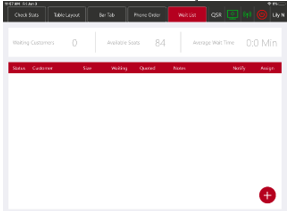
Select the Waitlist tab on your POS Dine-in Screen:
![]()
Fill out information manually or search for customer. Then input remainder of information:
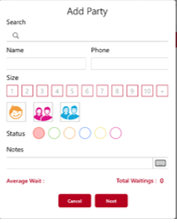
Your customer will now be put on a waitlist with an expected time frame. You also have the option to notify the customer when their table is ready and the option to assign them to a table: