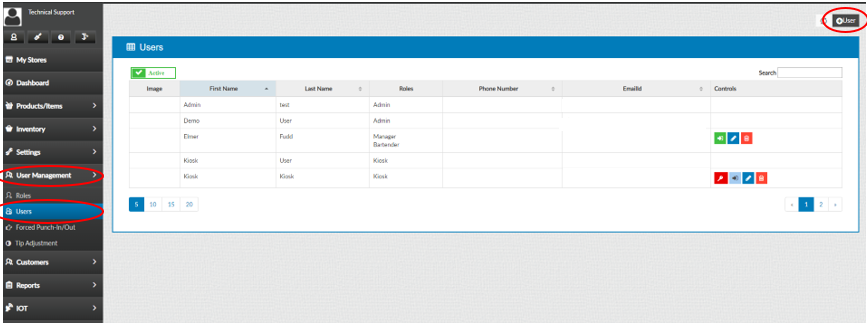
Menu Layout for Online Ordering
Introduction:
This document explains the new menu layout implemented for the OLO.
Requirement:
A setting to configure the menu layout should be provided in the online order admin page.
Implementation in OLO:
Page Navigation: Online order store Admin page >> Account settings
– A new field “Menu layout” should be included in the store account settings.
– The “Menu layout” should have the following options,
1) Default Layout
2) Large image
3) Small image
4) No image
– The “Default layout” should be selected by default.
– Large images, small image and no image represent the new menu layout UI with large, small and no menu icons, respectively.
Screenshot for menu layout configuration:
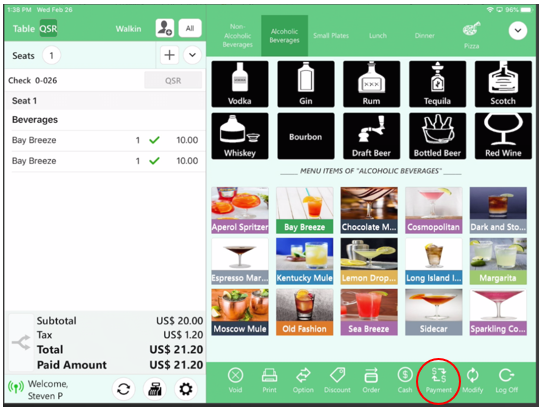
Large Image Layout:
Small Image Layout:
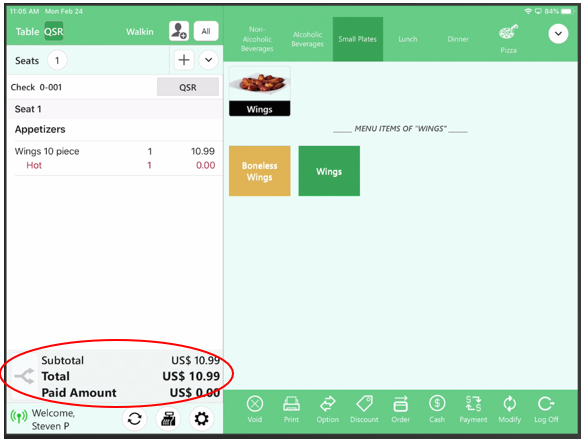
The menu images should be displayed in small icons.
No image Layout: