Inventory Items

“Inventory”, “Inventory Items”, “+Inventory Item”

Note: When setting up an inventory item, you must have Ingredient Categories, Storage Locations, Vendors, and In House Units created

Inventory Items-1

Select a Category for the item

Inventory Items-2

Select a Primary Storage location for the item

Inventory Items-3

Select a Vendor

Inventory Items-4

Fill Out the Following:
Quantity = Number of Items in Each Purchase Unit
Price = Cost of Purchase Unit
Yield % = How Much of Each Purchase Unit You Will Use
Price/Unit = This Will Be Automatically Calculated
Inventory Items-5

86 List

How to Add an Item to the 86 List:

Select “Products/Items”, “Products/Items” and then enable “86 List”

86-1

Select “Operation”

86-2

Select “86 List”

86-3

Edit the amount of orders that are left to serve

86-4

Viewing the item of the 86 List:

The item will indicate how many orders are left

86-5

Viewing what is on the 86 List:

Select the “Clipboard”

86-6

This will show you what items are on the 86 list

eDynamo Pairing

Hold the power button down for 3 seconds until the blue light flashes

eDynamo-1

Go to “Operation”

eDynamo-3

Select “Hardware Settings”

eDynamo-5

Select the eDynamo that you are connecting and after selecting a “Check Mark” will appear.

eDynamo-6

Enter “0000” and select pair. PLEASE NOTE: IF A DEVICE HAS BEEN REVIOUSLY PAIRED, YOU MAY NOT SEE THIS OPTION.

eDynamo-4

ONCE YOU’VE COMPLETED THESE STEPS, PLEASE RETURN TO THE ORDER SCREEN AND RUN A TEST TRANSACTION TO CONFIRM YOUR SETTINGS ARE CORRECT.

Gratuities

Creating Gratuities:

            “Products/Items”, “Gratuities”, “+Gratuity”

Gratuity-1

Creating Fixed Gratuity:

After making the gratuity select “Update”

Gratuity-2

Creating a Varying Gratuity:

After making the gratuity select “Update”

Gratuity-3

Adding a Receipt Printer

Adding a Receipt Printer to the Back Office:

Select “Settings”, “Printer Configuration”

Receipt Printer-1

Click “Receipt Printers then select “+Receipt Printer”

Receipt Printer-2

Type in the IP address from the ticket and press “Update”

Receipt Printer-3

Menu Layout for Online Ordering

Introduction:

This document explains the new menu layout implemented for the OLO.

Requirement: 

A setting to configure the menu layout should be provided in the online order admin page.

Implementation in OLO:

Page Navigation: Online order store Admin page >> Account settings

–        A new field “Menu layout” should be included in the store account settings.

–        The “Menu layout” should have the following options,

1)      Default Layout

2)      Large image

3)      Small image

4)      No image

–        The “Default layout” should be selected by default.

–        Large images, small image and no image represent the new menu layout UI with large, small and no menu icons, respectively.

 Screenshot for menu layout configuration:

Menu Layout Online-1

Large Image Layout:

Menu Layout Online-2

Small Image Layout:

The menu images should be displayed in small icons.

Menu Layout Online-3

No image Layout:

Menu Layout Online-4

Online Ordering

How to Enable Web Order on BOH:

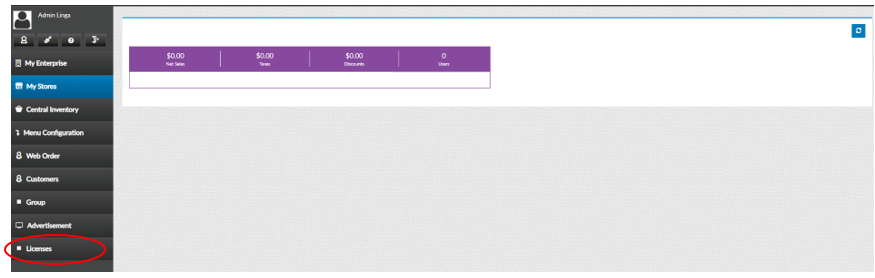
On the “Enterprise” screen select “Licenses”

NOTE: You must be logged in as an Enterprise admin on the Enterprise level to access the Web Order License Settings

Online Ordering-1

Select “License Settings” and turn on “Web Order” and press “Update”

Online Ordering-2

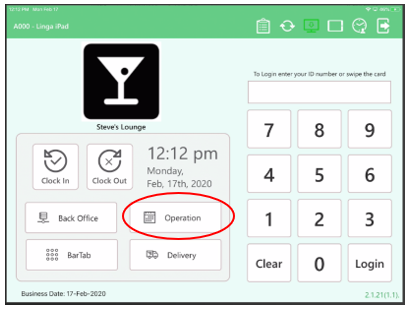
How to Enable Web Order on FOH:
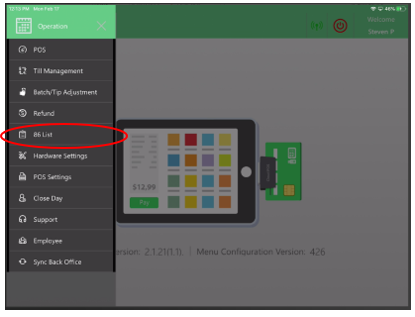
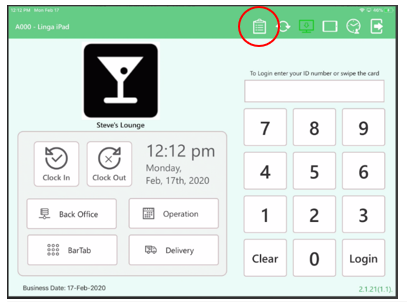
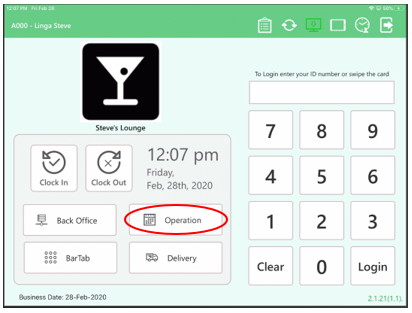
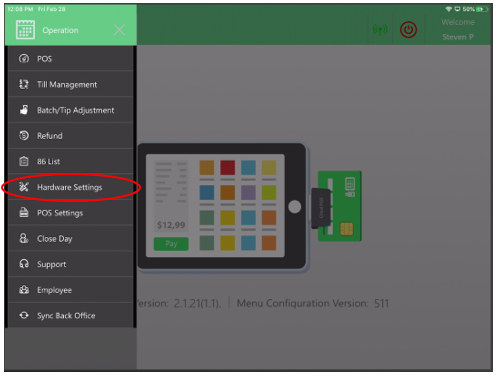
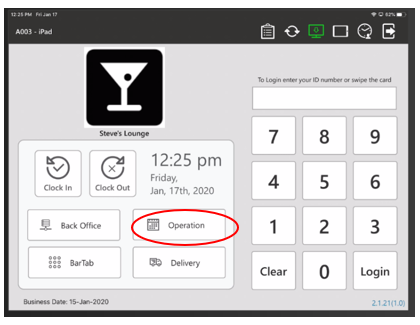
Select “Operation”

Online Ordering-3

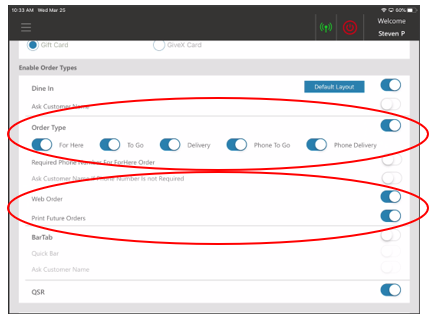
Select “POS Settings”

Online Ordering-4

Scroll down and enable “Web Order” and “Print Future Order”, you must also enable order types that you will be accepting

Online Ordering-5

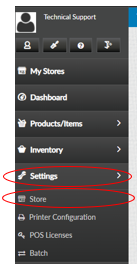
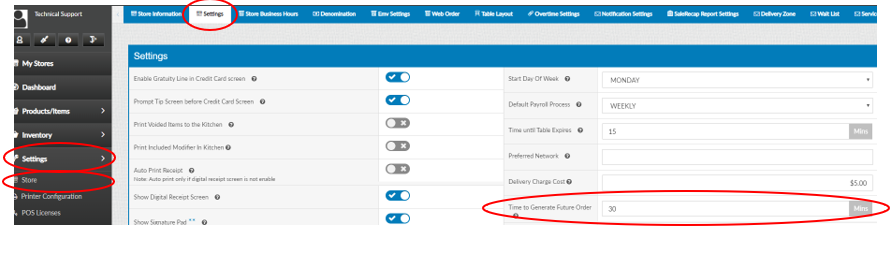
Setting a Future Order time in the BOH:

“Settings”, “Store”, “Settings” and insert “Time to Generate Future Order”

Online Ordering-6

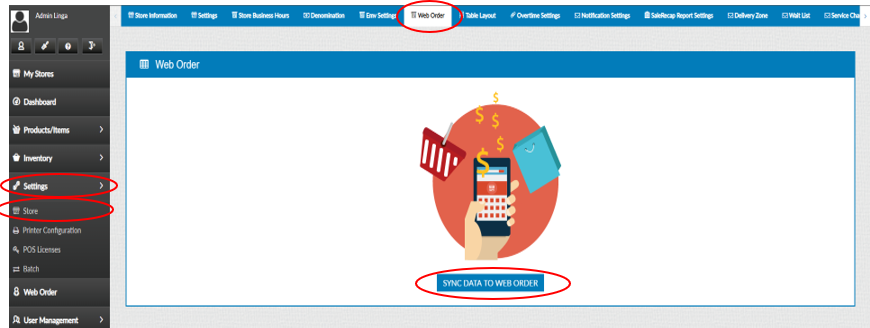
Sync Back Office Data to the Web Order Portal:

Select “Settings”, “Store”, “Web Order”, “Sync Data To Web Order”

Online Ordering-7

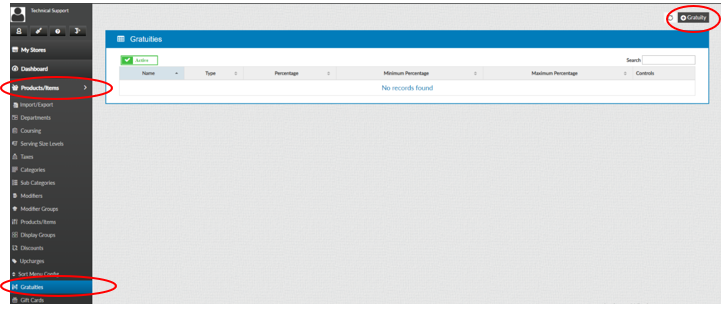
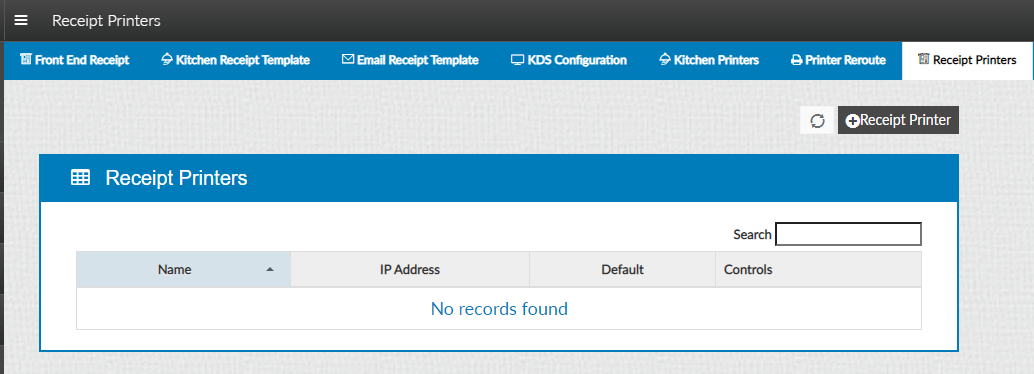
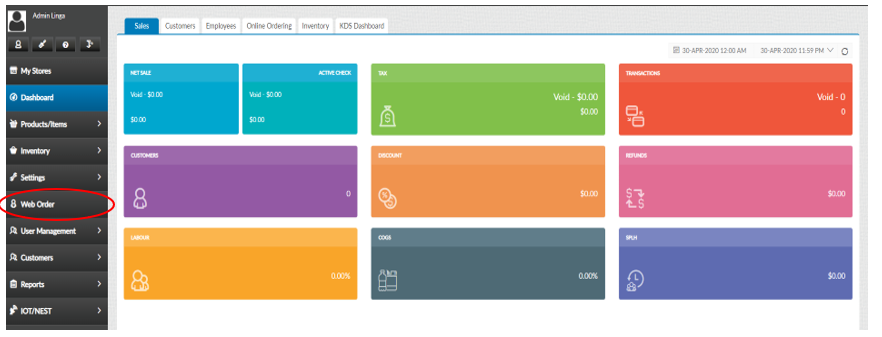
To Access the “Web Order” Settings:

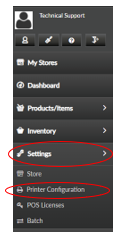
Navigate to the Back Office and select “Web Order”

NOTE: You must be logged in as a store manager /admin on the Store level to access the Store Web Order Settings

Online Ordering-8

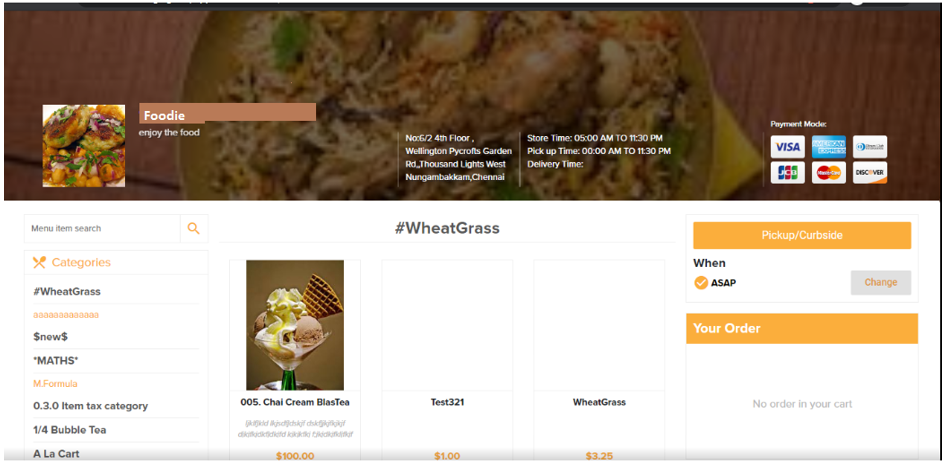
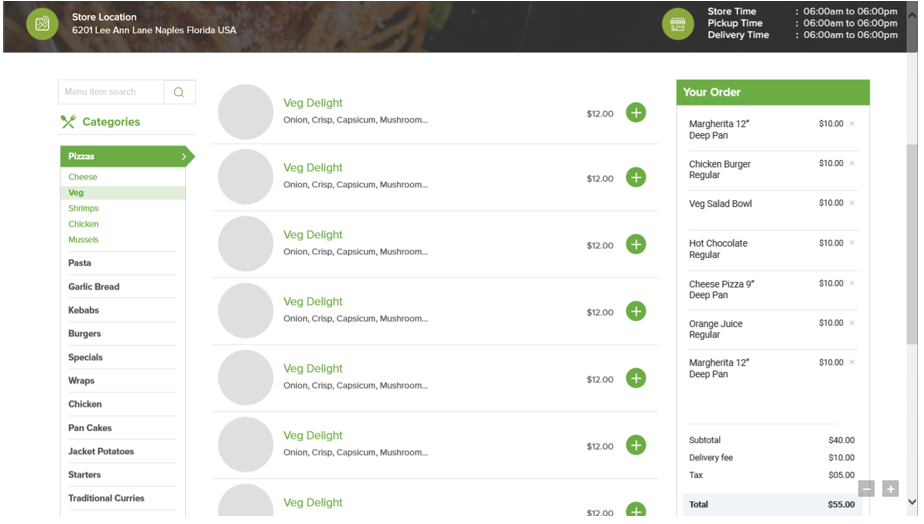
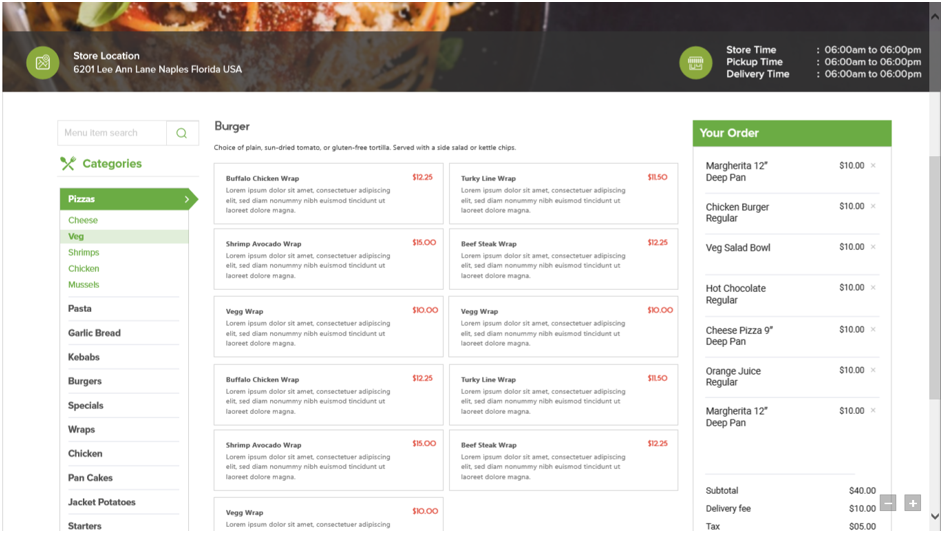
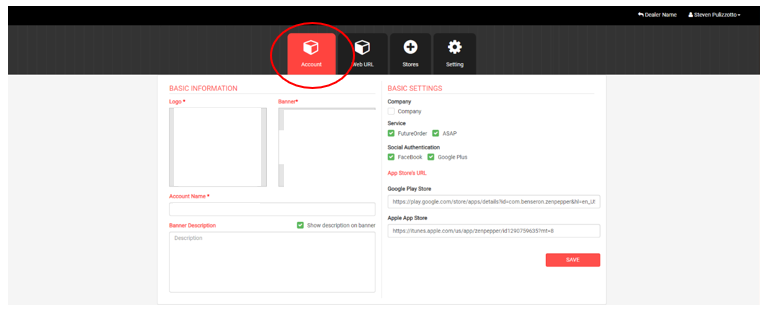
You will be directed to the Zenpepper page. You will be able to customize the online ordering here

Online Ordering-9

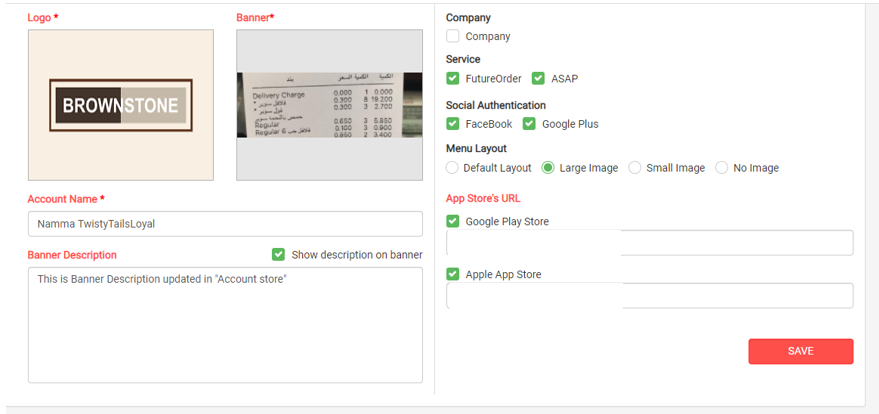
The account page will let you customize your account on what will be seen on the webpage

Online Ordering-10

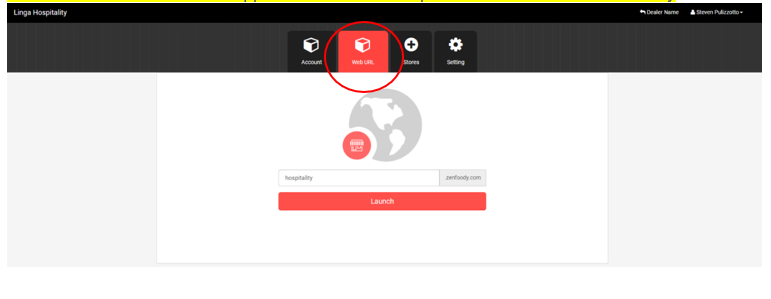
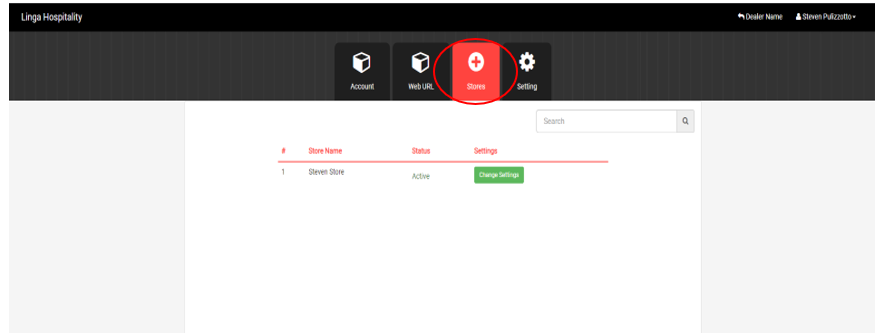
Web URL page will let you see the URL for the customer to access the web page

NOTE: Please DO NOT use Upper Case Letters or Spaces – Lower Case Letters only
Online Ordering-11
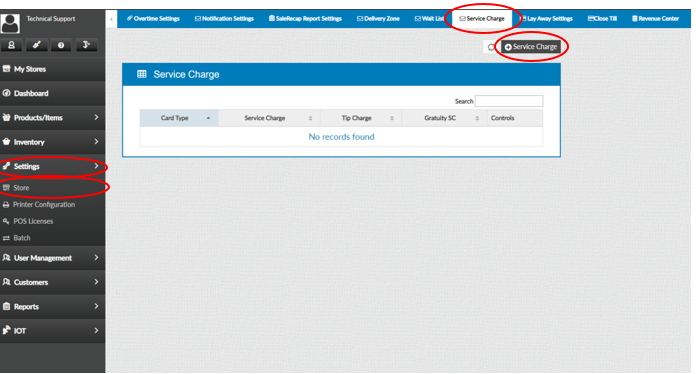
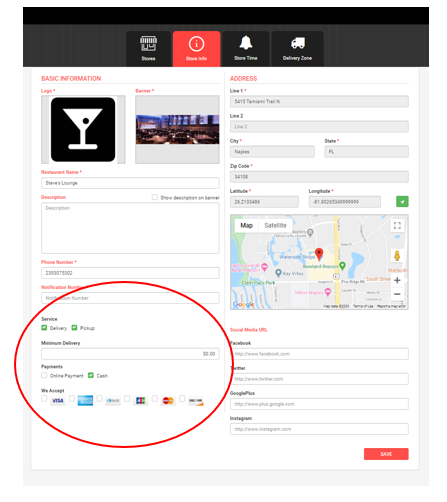
Select the “Stores” tab and select “Change Settings”
Online Ordering-12

As shown: This is where you will be able to edit settings of the store

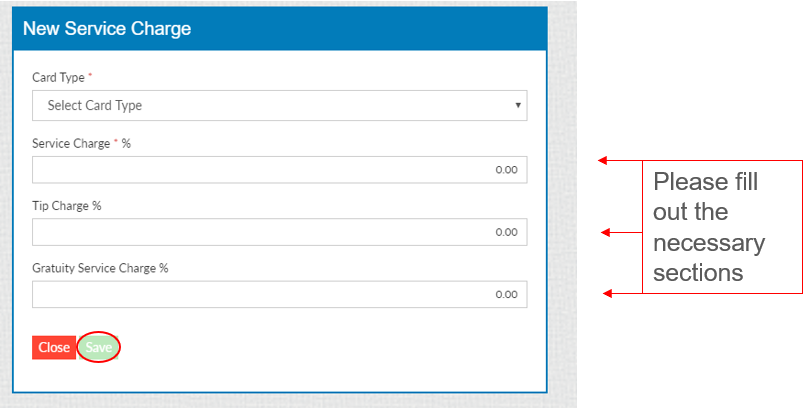
NOTE: You must select the Type of Service and Type of Payment that you will be accepting (Cash and /or Online Payment) – The Types of Cards that you will be using MUST be selected

Online Ordering-13

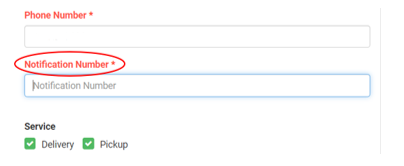
Notification Number for Offline Ordering

A notification from the application will be sent to this number so that the person in authority may receive an SMS message to the phone number that is provided. The number will receive all notifications regarding issues with the Zenpepper website not working. 

Online Ordering-14

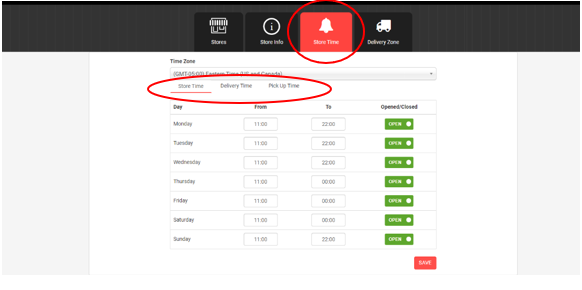
Select “Store Time” You will be able to edit ordering hours here

NOTE: All sections must be selected (Store Hours, Delivery Time, and Pick Up Time)

Online Ordering-15

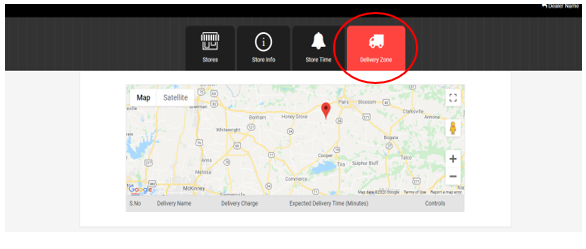
Select “Delivery Zone” to confirm your zones for Delivery

NOTE: This must be filled out under Delivery Zone located under settings in the Back of House

Online Ordering-16

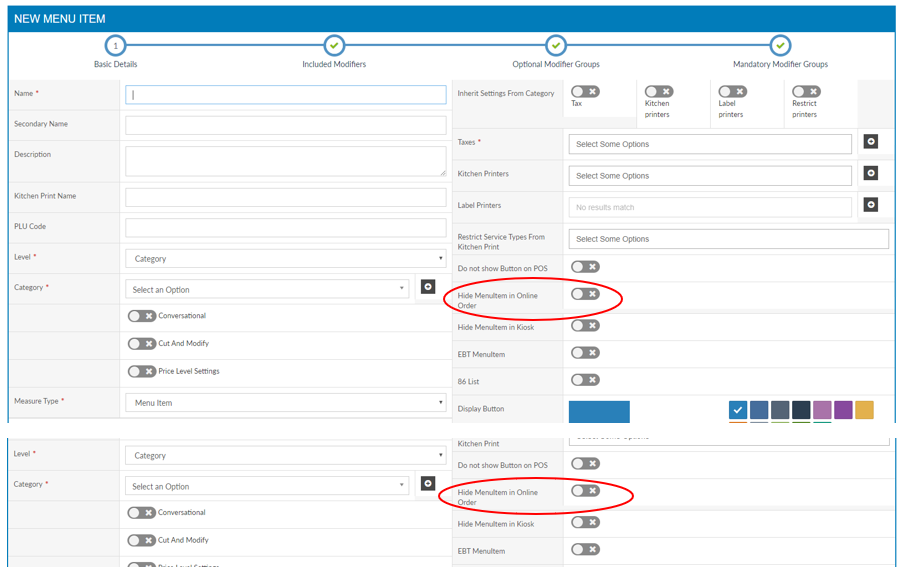
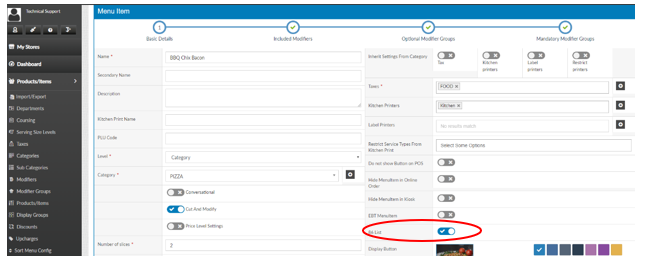
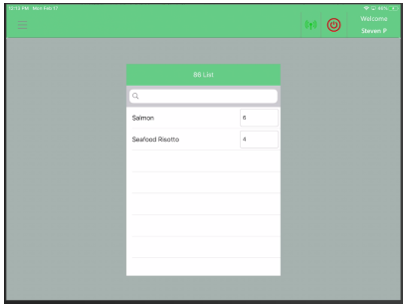
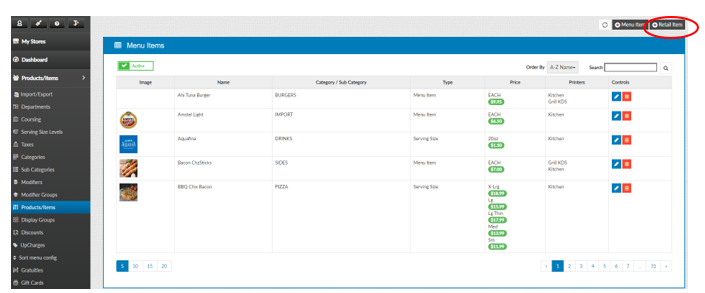
Toggling Products and Items Visibility for Online Ordering:

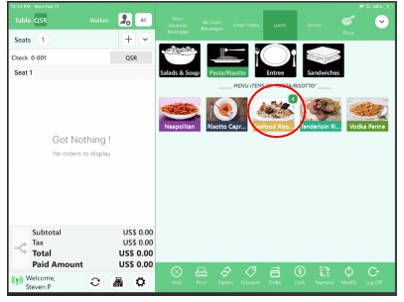
Select the item that you wish to change, then select “Hide Menu Item in Online Order” to hide in Zenpepper

Online Ordering-17

Service Charge

To add a “Tip Charge” to a service charge:

Go to “Settings”, “Store”, “Service Charge” , “+ Service Charge”

Service Charge-1

Now you will be able to add the card type and customize how much of a Service Charge percentage is needed. Select “Save” when complete

Service Charge-2

Creating a Retail Item

Select “Retail Item” in the Products and Items tab

Retail Item-1

Fill in all the required information about the item

Retail Item-2

Insert the Item Name

Retail Item-3

Insert the Level of the Item

Retail Item-4

Fill in the Sku Code

Retail Item-5

Fill out the Price/Cost for Item

Retail Item-6

Next fill out the Inventory Details page and once complete you can Save and Publish the retail item

Retail Item-7

Fill out the Level of Inventory to store the item

Retail Item-8

Select a Storage Location

Retail Item-9

Select a Vendor

Retail Item-10

Select the Inventory Unit

Retail Item-11

Adding a Kitchen Printer to the Back Office

Adding a Kitchen Printer:

Select “Settings”, “Printer Configuration”

Kitchen print-back office-1

Go to “Kitchen Printers” then select “+Kitchen Printer” (if adding a new printer)

Kitchen print-back office-2

Edit the information and select “Update” when complete

Kitchen print-back office-3