How to Locate and Set Up Loyalty in the Back Office:
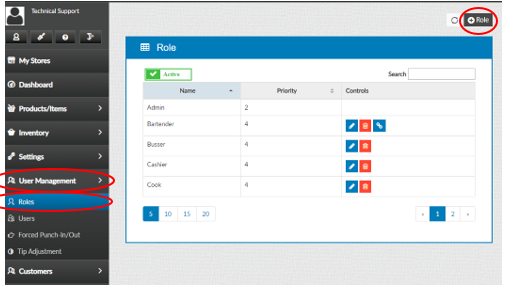
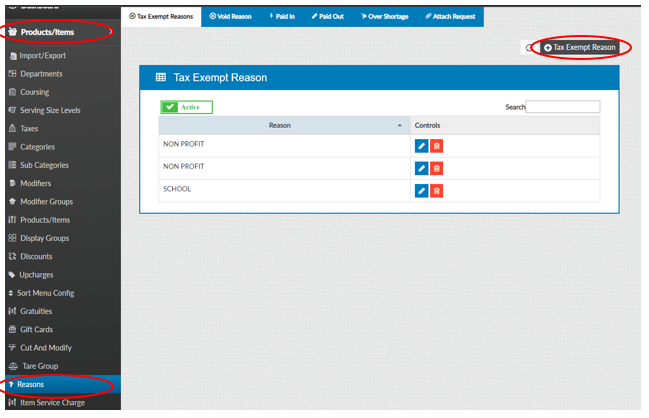
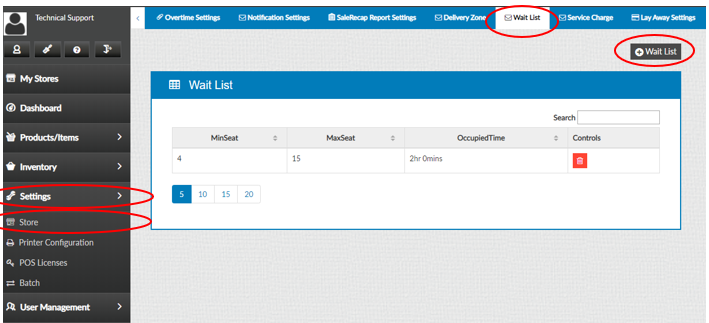
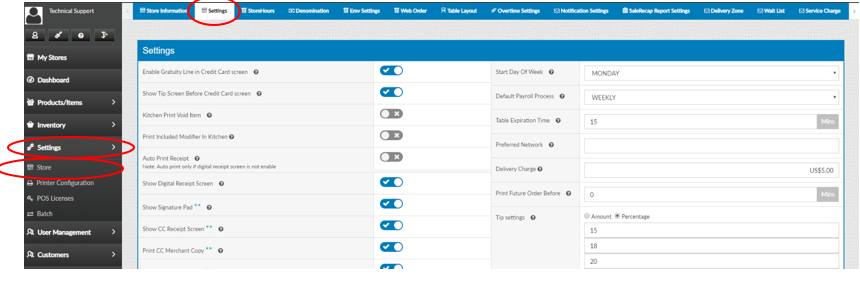
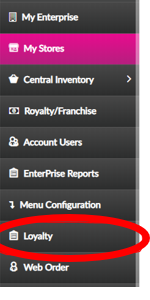
Log into the Back Office, and Locate the Loyalty Section:
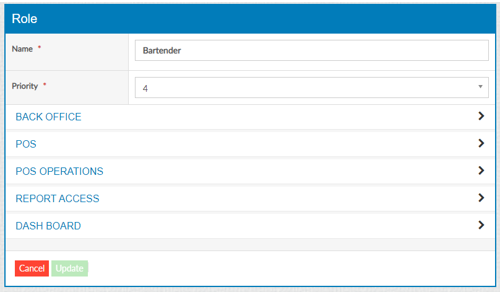
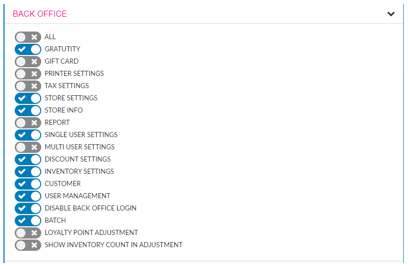
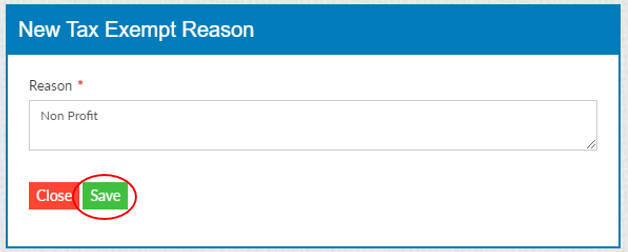
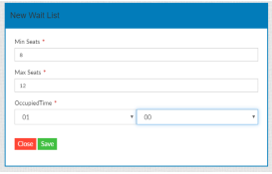
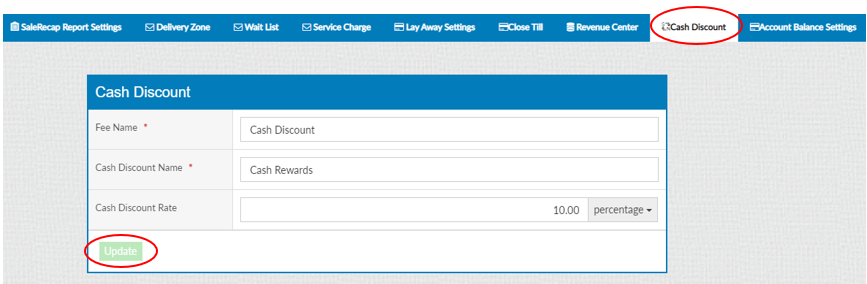
Fill Out the Appropriate fields, with Loyalty information:
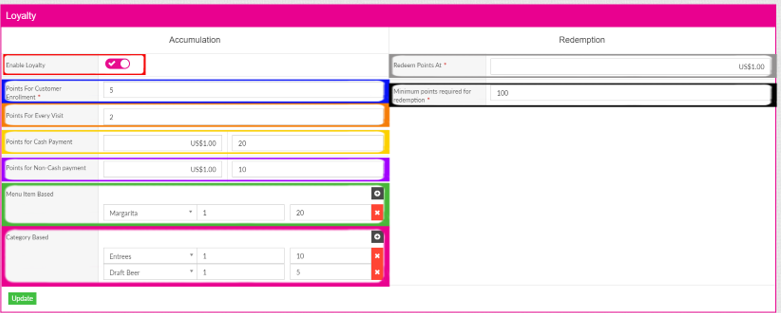
ACCUMULATION:
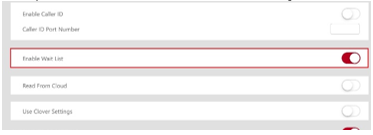
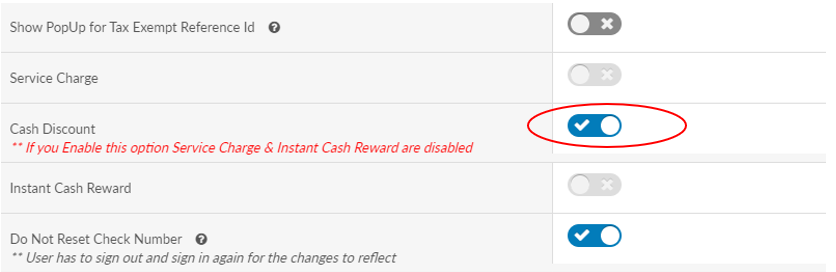
Enable Loyalty: Turns Loyalty feature On and Off
Points for Customer Enrollment: Number of Points a Customer receives for Enrolling in Loyalty
Points for Every Visit: Number of Points a Customer receives for Visiting the Location
Points for Cash Payments: Number of Points a Customer receives for using the Cash Tender
Points for Non Cash Payments: Number of Points a Customer receives for using the Non Cash Tenders
Menu Item Based: Number of Points a Customer receives for Purchasing that Item off the Menu
Category Based: Number of Points a Customer receives for Purchasing Items from that Category
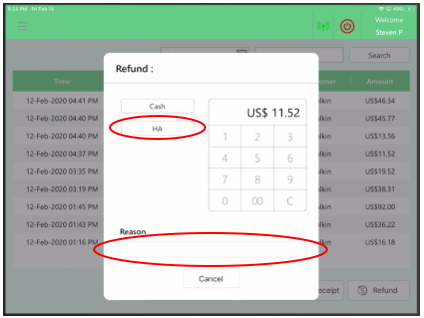
REDEMPTION:
Redeem Points At: Dollar Value of EACH Loyalty Point
Minimum Points Required for Redemption: The Points that are needed to be able to use Loyalty savings
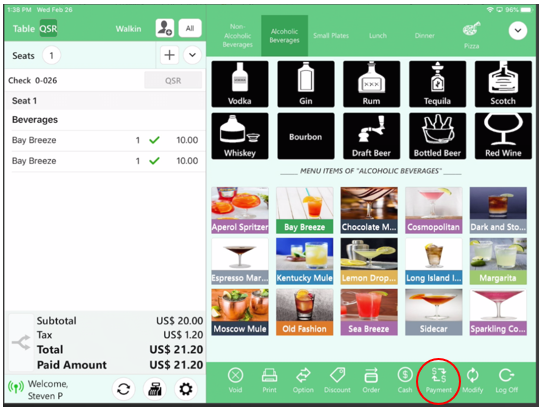
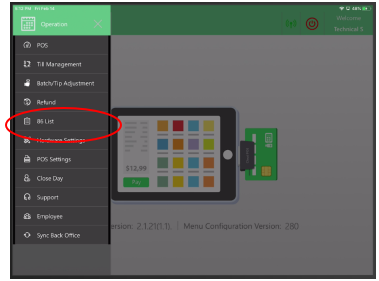
How to Add a Customer to the Loyalty Program in the Front of House:
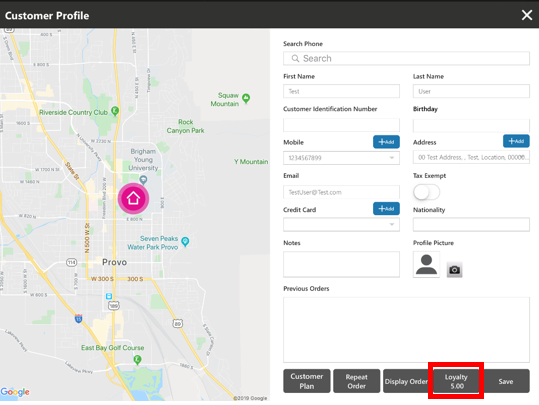
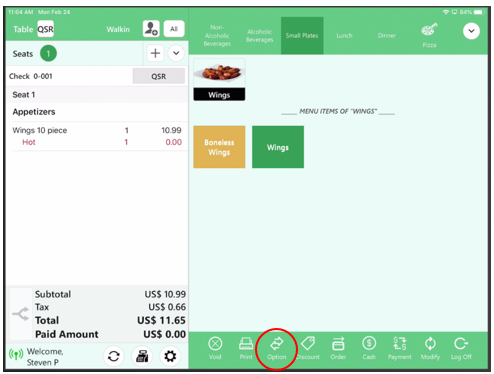
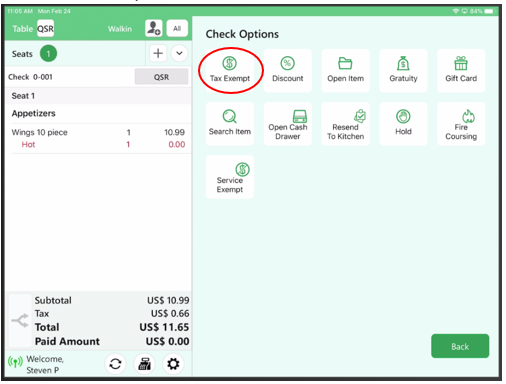
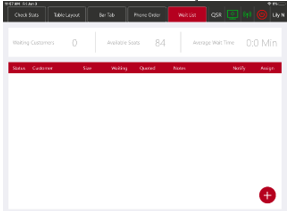
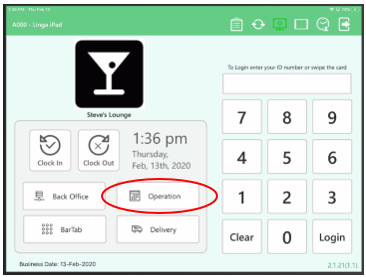
Log into the Front of House, with your employee number and click the Person icon at the top of the screen:
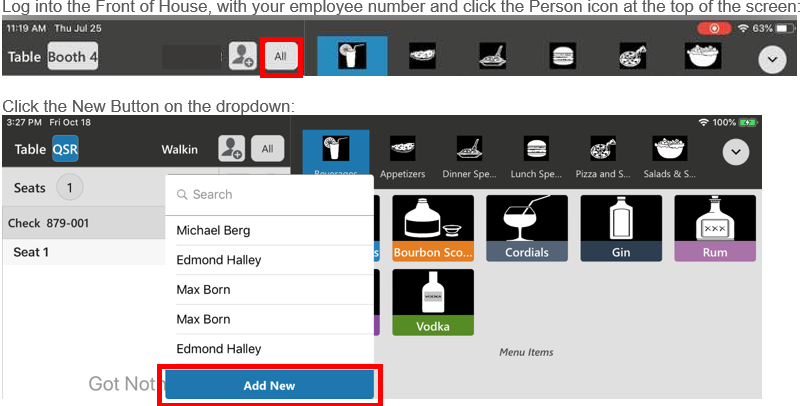
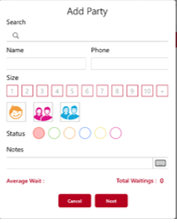
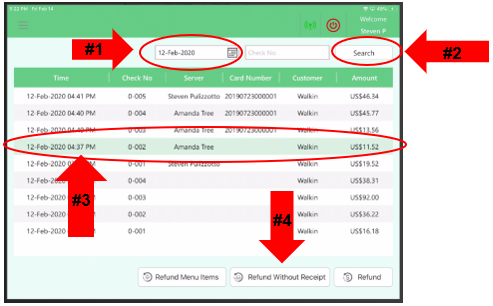
This will launch the customer loyalty page, where you can enter the Customer information:
Name, Phone Number, Address, Email
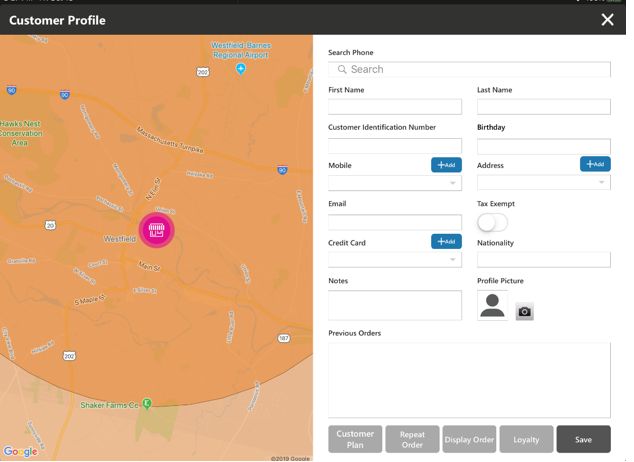
Click Save after all the information has been saved:
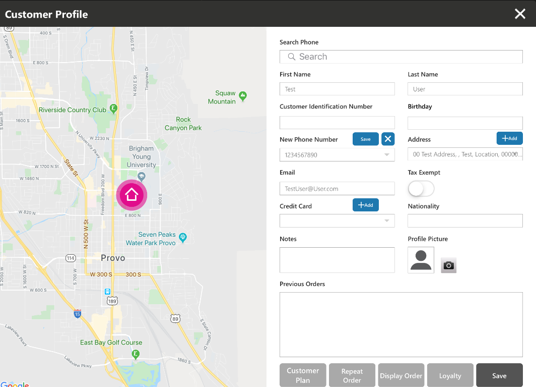
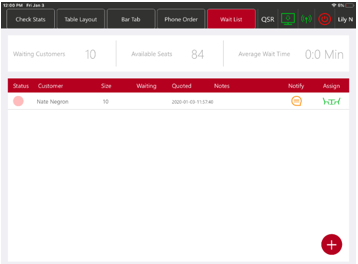
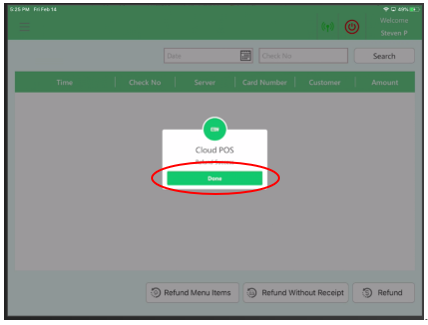
When you click on the Customer Name to the Left of the person icon the Loyalty account will now be created and start accumulating points